Okay first i made this tutorial for reddit initially to gain a little bit of popularity for 2 great products voxcommando and happy bubbles BLE detectors. This may seem kinda meh to some of you that have used vox for a while but here it is.
Hello this is a review I'm doing about presence detection using bluetooth low energy devices that I received from a company called
https://www.happybubbles.tech/ for the past 2 weeks I've been working heavily with these devices to understand the ins and outs and test different home automation using them.
My current home automation devices are zwave, x10, and phillips hue. I currently use software such as home assistant, voxcommando, eventghost, and tasker to run my home automation devices. This device isn't really limited to any 1 software and works through MQTT so pretty much anything that can receive messages through MQTT will work with them.
This is going to be a tutorial of the setup on a windows operating system along with a review of how my system is currently implementing the BLE devices.
First off you need to choose an MQTT service to use. I chose to run mosquitto MQTT server locally on my windows 10 PC. A tutorial on setting up mosquitto MQTT can be found here.
https://sivatechworld.wordpress.com/2015/06/11/step-by-step-installing-and-configuring-mosquitto-with-windows-7/Next you need to setup the happy-bubbles BLE detectors which is pretty simple.
1.) Plug in the BLE detector
2.) At first start the BLE detector will boot into config mode and broadcast as an access point. At this point you simply connect to the happy-bubbles wifi access point using a phone or laptop.
3.) After you have connected to the happy-bubbles access point just point your browser to
http://192.168.4.1/ This will bring you to the config page to begin setup.
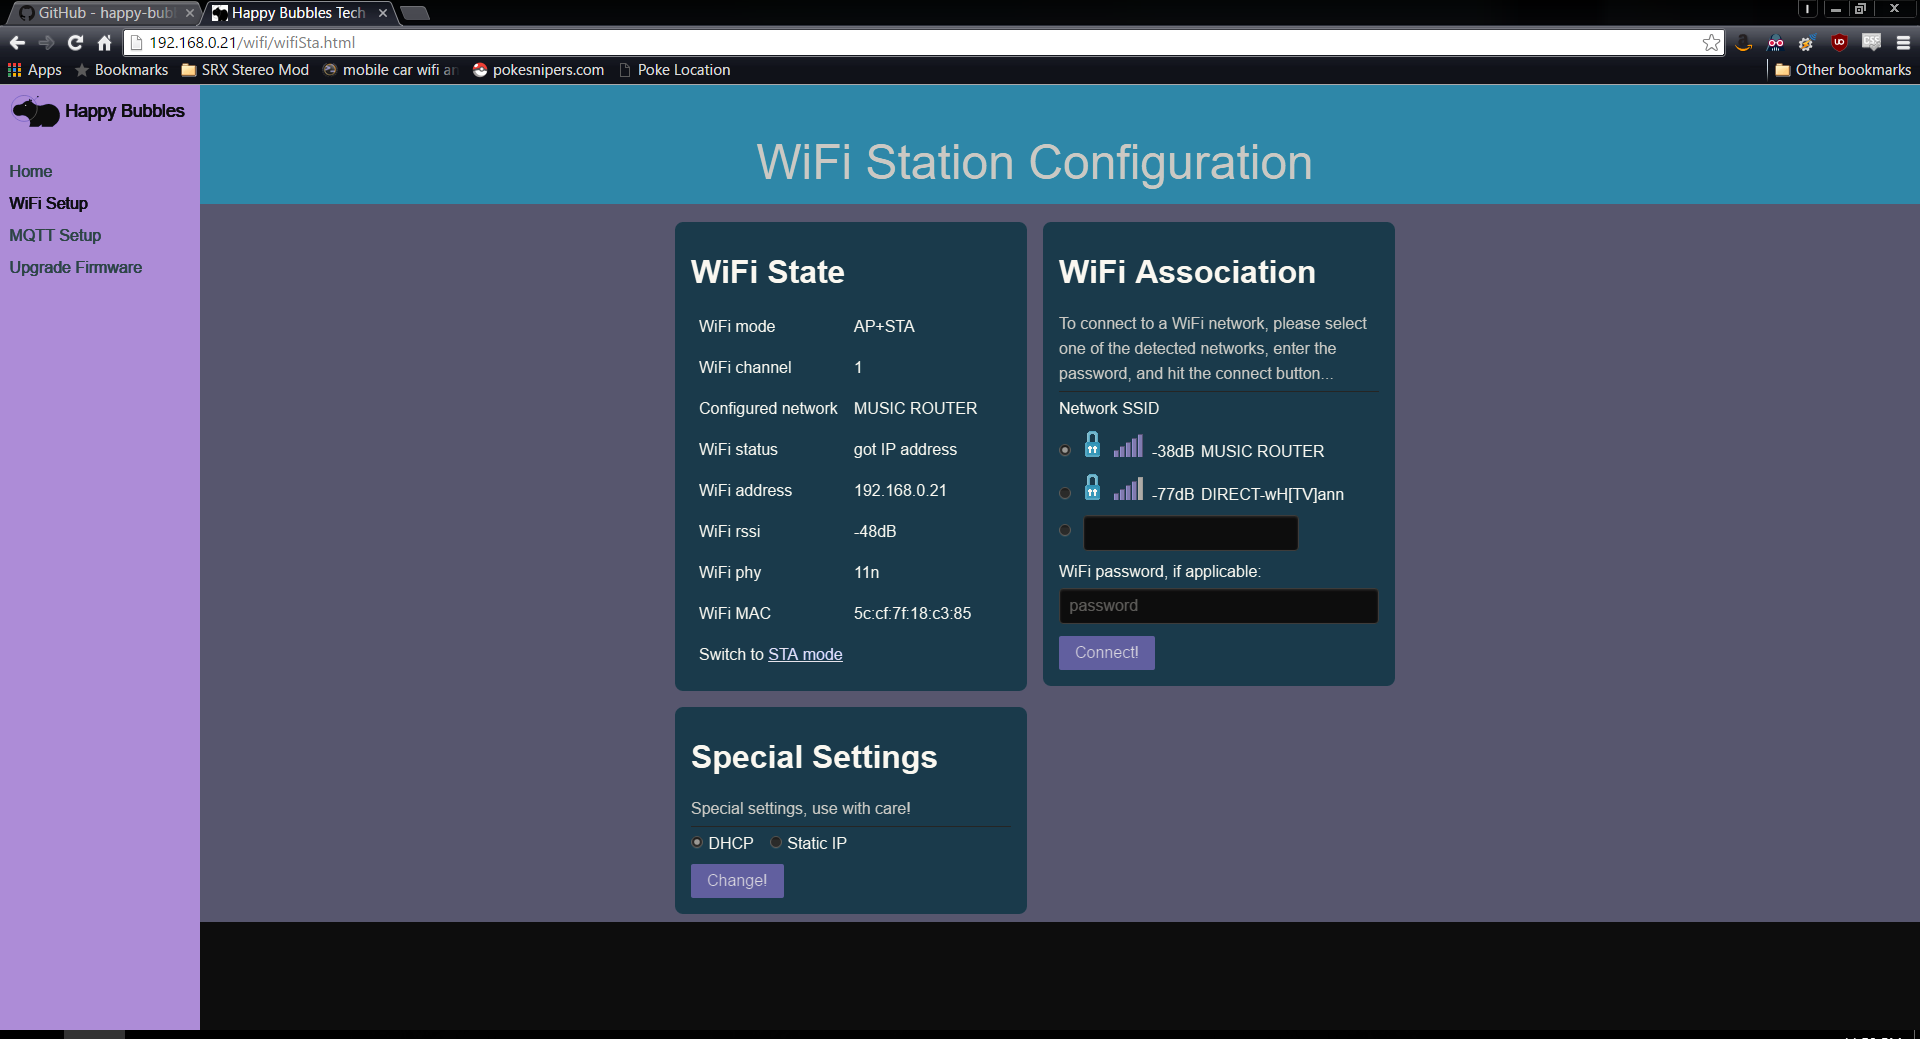
4.) On the left side of the page click "wifi setup" wait until your router populates in the list and select your router and plugin your password then click save.

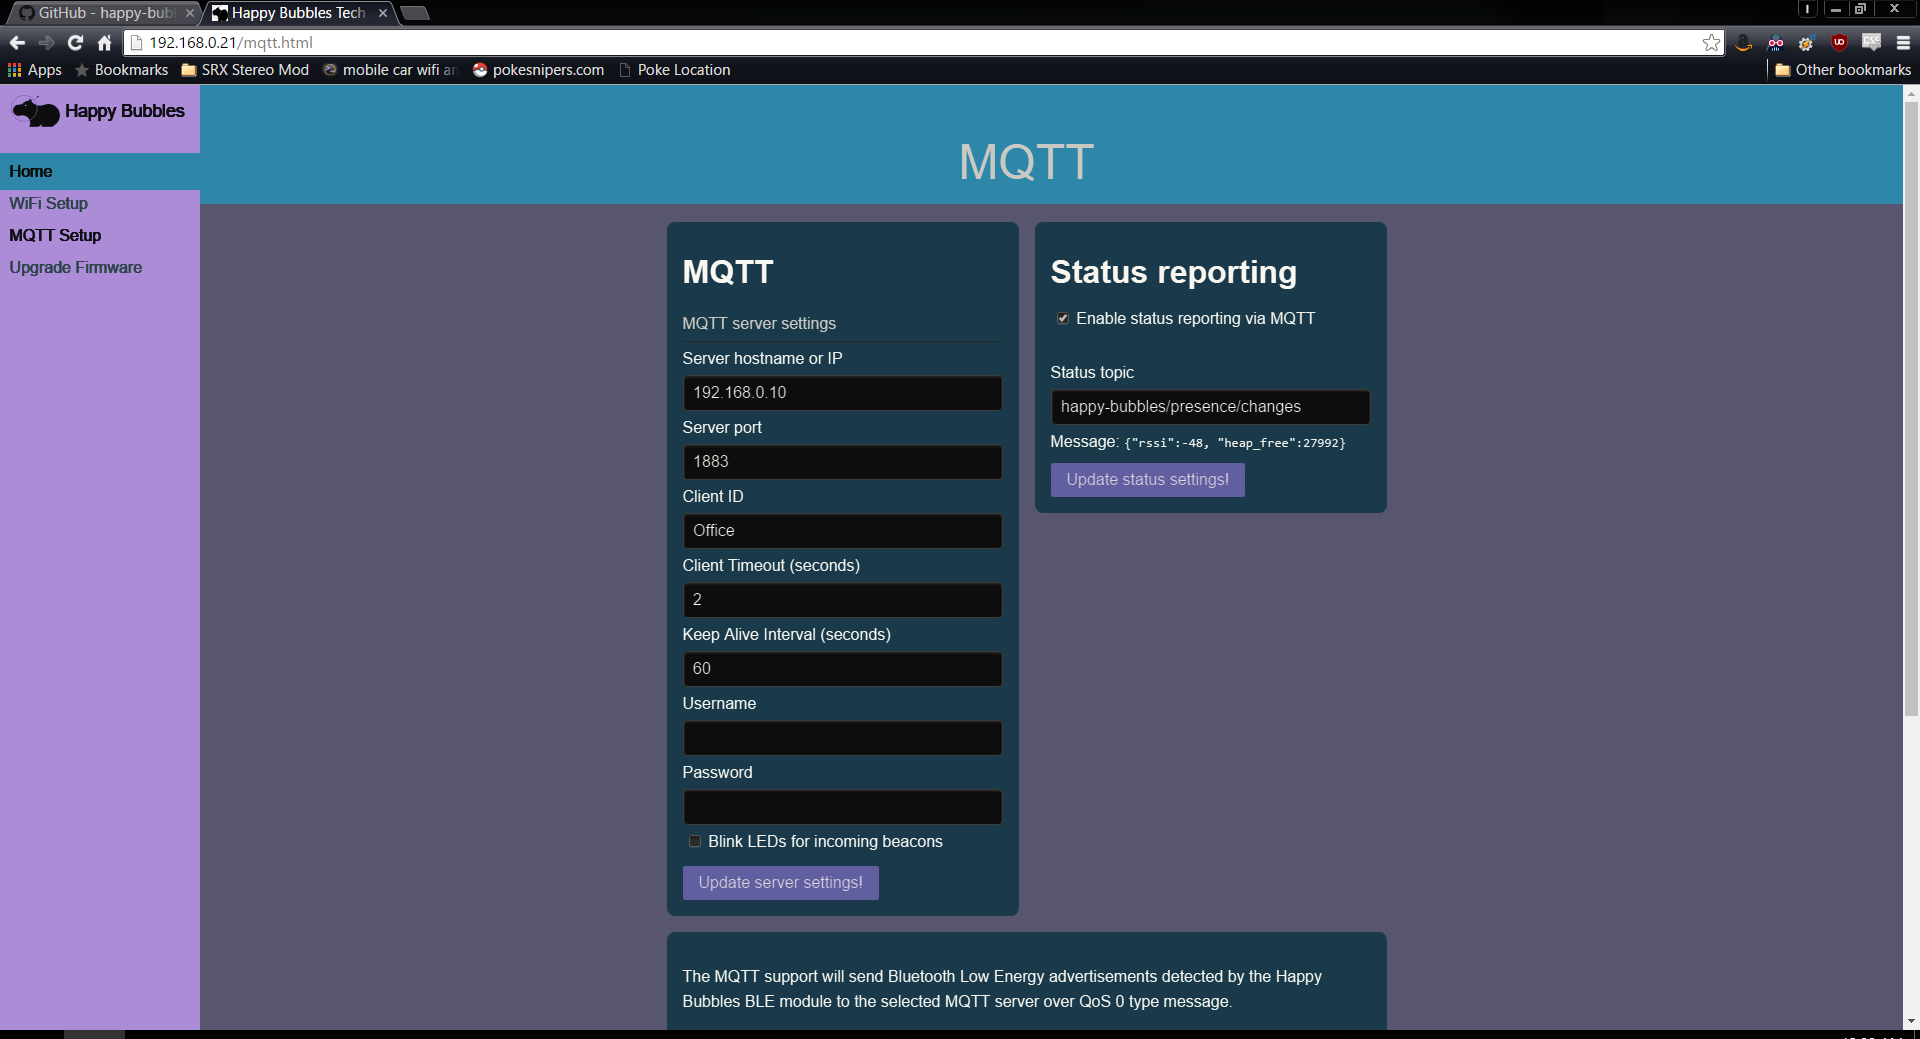
5.) Next go to the "MQTT setup" on the left side panel and here you will enter your local ip address of the computer that is running mosquitto. Next enter the port which be default is "1883". Choose whether you want the lights on the device to blink when a beacon is detected. Click save and then return to the "Home" tab on the left panel.

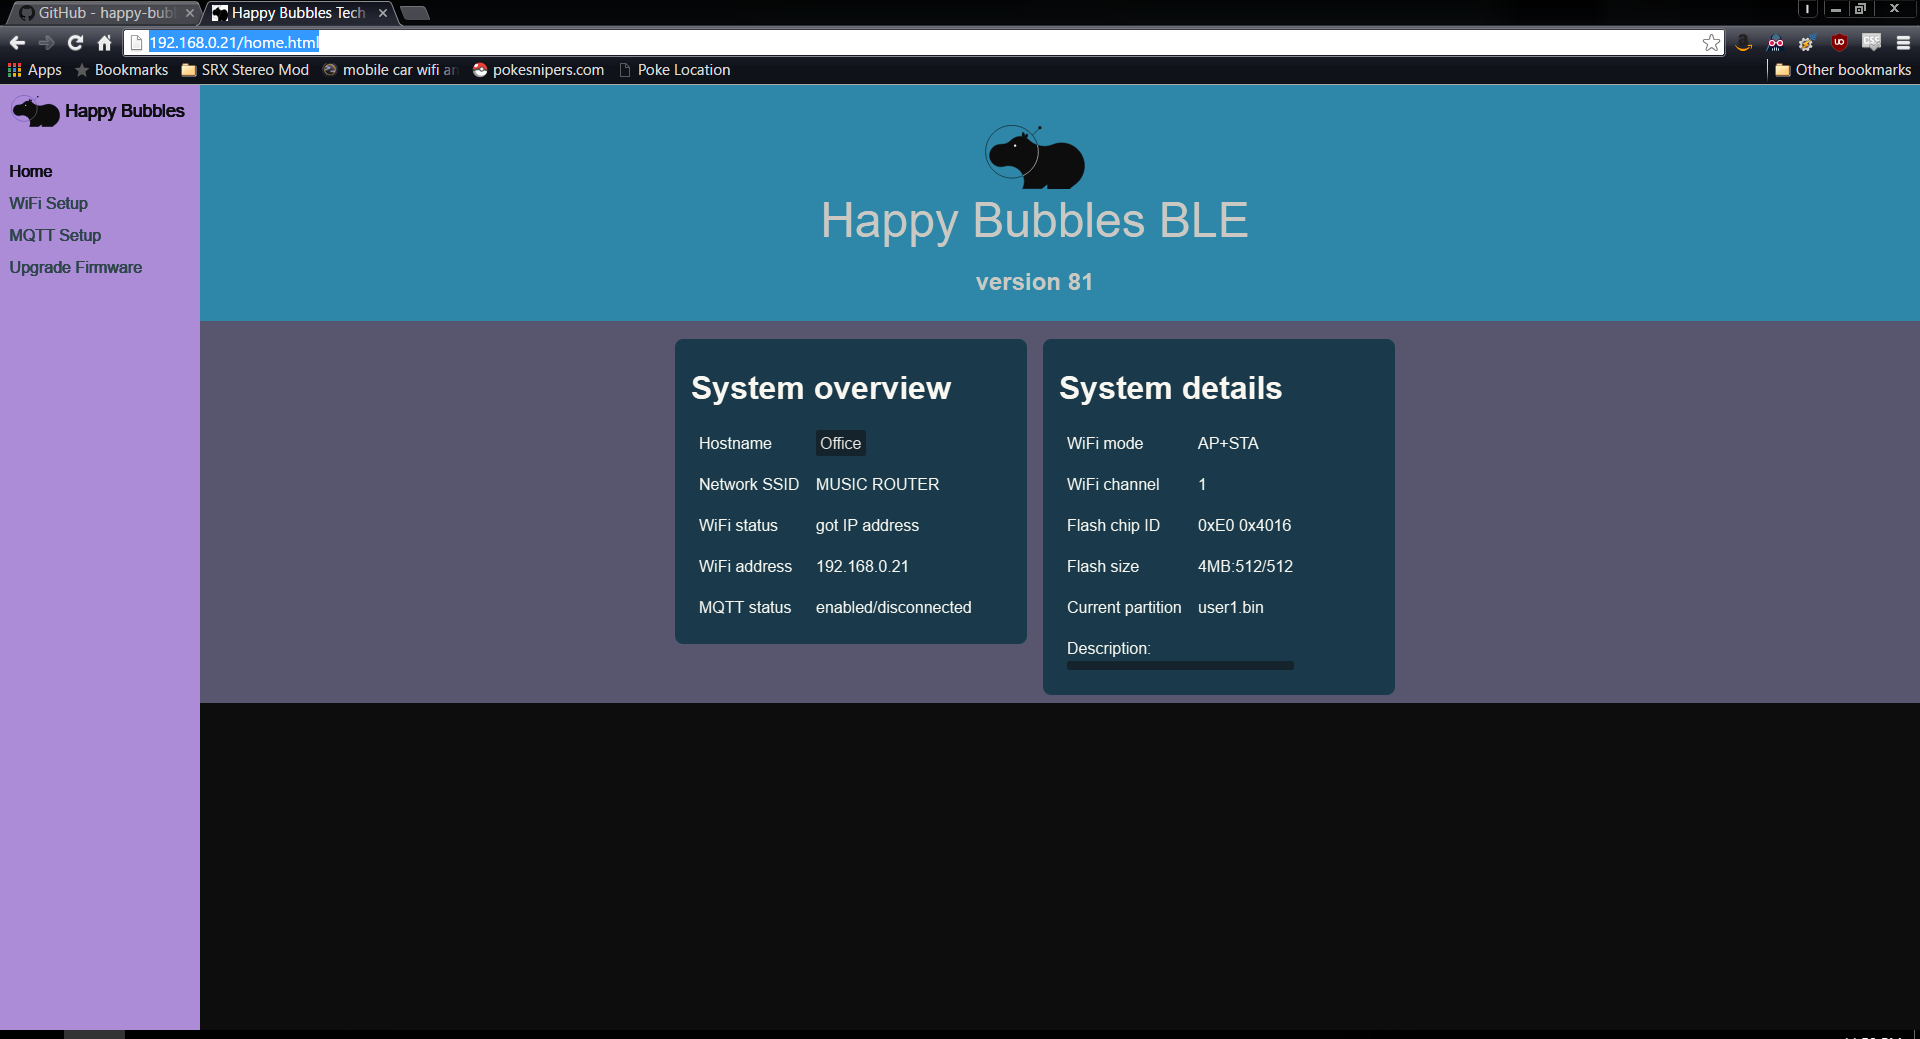
6.) Choose a name for your device and you are finished with the BLE detectors initial setup. You should see that the Happy-Bubbles detector is now connected to the MQTT server. Hold the "config" button on the BLE detector for 5 seconds and then release it to exit config mode and begin intercepting beacon transmissions.

7.)Next comes the setup in your home automation software i personally use VoxCommando much more than any others so i will be running through quickly how i have my office setup to work with VoxCommando and the BLE detectors.
VoxCommando is a voice automation system that is so much more than just voice automation software. I've been using it for close to 3 years now and it is constantly receiving updates. As a matter of fact its most recent update was adding a plugin to work specifically with the happy-bubbles BLE detectors. The creator of the software "JitterJames" did an excellent job creating this plugin within only 2 days of my requesting it if that tells you anything.
1.) Download the latest version of VoxCommando. There is a free version that allows up to so many commands before a restart is needed. This limitation is removed with the paid version but for those that want to test it out first this will suffice.
http://voxcommando.com/home/2.) Use the documentation included in VoxCommando's installation to ensure you setup VoxCommando correctly. But for the most part its just download and install like anything else.
3.) After VoxCommando is installed and open click on the plugin tab at the top.
http://imgur.com/P689YhJ then click enable/disable plugins. Click the checkbox next to MQTT then click save.
http://imgur.com/Zevzwpq4.) Click plugins tab again and now you should see MQTT in the list. Click it to enter the MQTT setup page.
http://imgur.com/etBAovd5.) Enter the ip address of the computer running mosquitto into the host section and make sure the port is set to 1883 as long as you didn't change the default port.
6.) Click the happy bubbles tab and you should be able to see any nearby beacons. Make sure to click and give each beacon a unique name and click save options and your done with this part. My beacons are named for example James Slippers, James Shoes because i implanted a beacon in my slippers and in the tongue of my shoe. I also did the same with the kids and wifes shoes as well. Now we all have smart shoes (Patent Pending) LOL Hopefully apple doesn't steal this.
7.) Now click the "edit" button at the top and the command section will open. Here is where you will start to build the commands you want to make the magic happen.
http://imgur.com/liGUMSS8.) Create a new group and name it something like "BLE DETECTION" after that i created folders for each room through my house. Office, living room, dining room, front porch, etc.
http://imgur.com/W8D7qYF9.) Go to the room you will be working with first and click "create new command" name the command however you wish i named mine "Name1 BLE Detected" "Name2 BLE Detected" "Name3 BLE Detected" and so on for each person that will have a beacon on them.
10.)On the main VoxCommando window at the bottom click "history" and this will open up a log of all the events that are taking place. If you bring your beacon into range of the BLE detector you will see an event pop up for it. Drag this event "Beacon detected" event and drop it in the VoxCommando editor on your new command. This will make it so that anytime the Beacon is detected in VoxCommando it will trigger whatever is in the command.
http://imgur.com/lEOVNlJ11.) This pretty much sums up how to use the beacons with VoxCommando but you will need to setup your commands to do as you wish yourself depending on what home automation needs you want it to run. There are plenty of different plugins available in VoxCommando to choose from and a great community of people always willing to help.
The way my office currently works is when i walk into the office wearing a beacon my tv turns on (USB-UIRT), hue lights turn on to certain colors/brightness depending on what time of day it is (Phillips Hue), stereo receiver turns on (X10 appliance module), desk fan turns on (X10 appliance module), and my computer greets me through text to speech in a random way every time I enter. My next project will be adding another BLE detector to my front porch to control my front door lock (Cause who has time to fumble around looking for keys)
NOTICE: For those of you using home assistant you can use the MQTT plugin to get messages from the BLE detectors to home assistant to perform different commands as well. The creator of the BLE detectors has also informed that the he is currently working on a home assistant component to make this a little bit easier as well.
I've been looking for something that works well for presence detection for quite some time now and everything up until now has been a failure. PIR Motion detectors, IR tripwires, beacons with my phone, etc. have always given false positives, turn lights off while I'm still int he room, and have no way of telling who is in the room but only that someone or something might be there. With these devices presence detection truly is smart and can detect who is in the room and can also use logic to avoid turning devices off when one person leaves and others stay in. To me personally this is revolutionary in the home automation scene and i will be ordering many more of these devices.
I received no kickbacks or payments for making this tutorial/review but I did receive a couple of the BLE detectors to review for you guys. This is one of the first reviews that I've ever done so I hope it was up to standards. I will be making a short video of my setup working with the detectors very soon so stay tuned.